

This week the Prep-Gr 2’s used an iPad app called Sticknodes, the Gr 3-4s looked at how you can use Photoshop to create animations, and the Gr 5-6s were introduced to Premiere Pro in order to create trailers for their videos.
Sticknodes
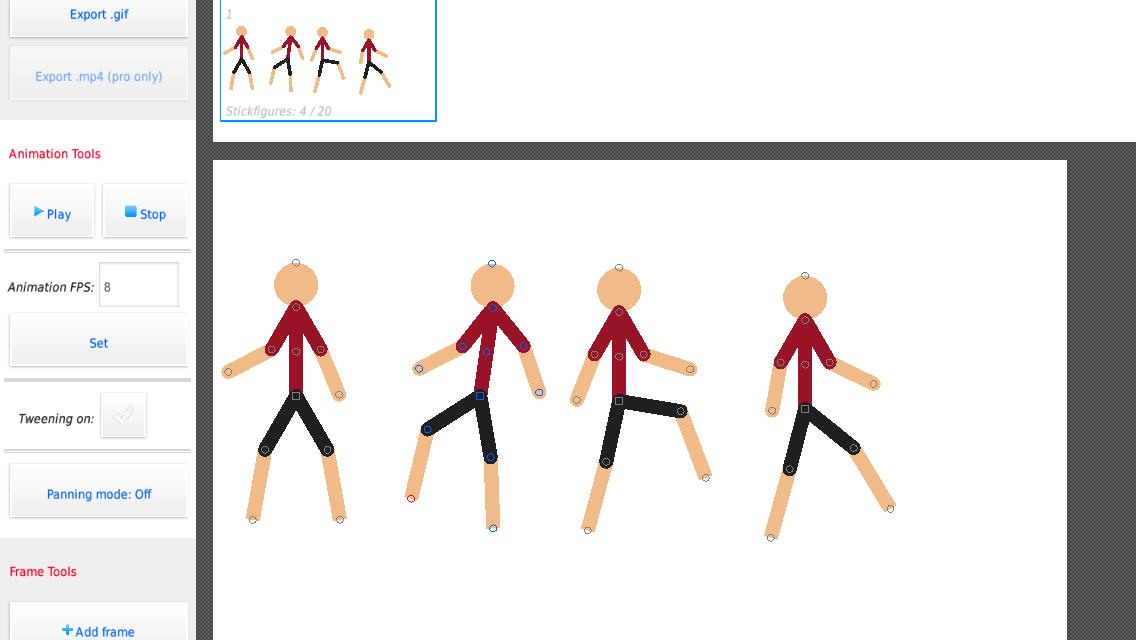
The first thing you’ll notice about Sticknodes is that it is virtually identical to Pivot Animator, and that is true. I’ll admit, I haven’t dived deeply enough into the app to see where the differences lie, but this was a good way of doing the same lesson that I had done with the older kids – using Pivot Animator – to the younger kids using the iPads.
The more I think about, the more I am grateful that I decided to stick to the Prep-Grade 2’s on iPads from the beginning of the year. I find that, even with the Grade 3-4s on desktops, the skill of using a mouse accurately and non destructively has been quite poor. I’ve had students moving files or entire folders by accident and not being able to double click properly. This is what you get in a world of touch screens and touch pads.
Anyway, even the kids as young as Preps could understand the concept of frame by frame animation by using this app. Although I did notice that, without guidance, the movements between each frame can be quite big, causing the animation to flash figures on screen, rather than create an illusion of movement (I mentioned this in the previous post). I let it go with the younger kids, but I did make sure that with the Grade 2’s at least, that I had higher expectations.
This week we just used the stick figures in the app. I didn’t mention the other figures available in the library. Next week we will consolidate our skills and understanding using the app, but with more choice of characters.
Here is a grade 1 example
Frame-by-Frame Animation with Photoshop
Little known fact about Photoshop – you can edit videos and create frame by frame animations as well as the normal image editing and composites. It’s not a fully robust video editor like Premiere Pro, but it gets the job done for basic projects.
I had some fun with the grade 3-4 classes. I sneakily took photos of their empty classrooms during lunchtime, and created a Photoshop file that had the classroom as the background, but then added layers which had Simpsons characters. Within Photoshop it looked like this.

The idea was that the students had to activate the timeline, choose frame by frame animation, and move their characters around, a little bit each frame.
Below is a video tutorial of what I did.
The students were highly engaged with this activity, as you can imagine. There were some things that came up. Firstly, the kids noticed that the animations were quite limited. In other words, you couldn’t move any of the parts of the characters around, just the characters themselves. I knew about this, of course, and assured the kids that in the next lesson we would look at how to achieve something a little more functional.
The second thing is that, like with the Sticknodes, some kids followed the instruction of moving a little at a time, and some didn’t. Those that didn’t tended to do very random animations of characters just flashing about everywhere.
As noted in the video, about half way through, I did call them back to the floor to show them “tweening”. That process of creating a start and end point, and letting the computer fill in the gaps in between. This changed their world and suddenly doing the animation was a lot less tedious. To be honest, I wasn’t too concern with the quality of the animation. I was more trying to get them to understand the process and skill. We can finesse their animations later on.
Here is a couple of examples of what the kids did. You can see where the ability to tween came in!
Next week we will animate a single character in Photoshop using the Puppet Warp feature.
Creating a Trailer in Premiere Pro
Originally I had planned that I would get the grade 5-6s to edit the video they did last week with Screencast-o-Matic. But I decided that a good way to introduce them to Premiere was to cut together a 30 second trailer from that video using clips, titles and music.
Aside from Premiere, a fantastic resource I used and shared with the students is the YouTube audio library. Not many people know that YouTube provide royalty free music and sound effects free of charge to download and use in projects.
Here is a two-part tutorial about how I modelled this process to the students. Note that, of course, we could spend a long time being picky about what clips to show or what transition matches which audio beat, but really it was just an introduction to some features and skills in Premiere Pro.
Here are a couple of examples.
I think their favourite thing was to choose the music. They got a kick out of that.
Next week we dive into learning about shot compositions and filming examples of different kinds of shots.


