This week, the Preps looked at a new app called Animate Me, the Gr 1-2s started work on Stop Motion photography, the Gr 3-4s did more work with Scratch, and the Gr 5-6s learned about shot composition and went out in the “field” (ie: outside the classroom) to film examples.
Animate Me
I had planned for the Stop Motion lessons to include the Preps, but I ultimately decided against it thinking that it would be more appropriate to the older classes. So I found another app I gave them called Animate Me. Animate Me is like a cross between Easy Animator and Sticknodes. It has the kind of fun 3D characters that Easy Animator has, but has the pivot points that Sticknodes have.
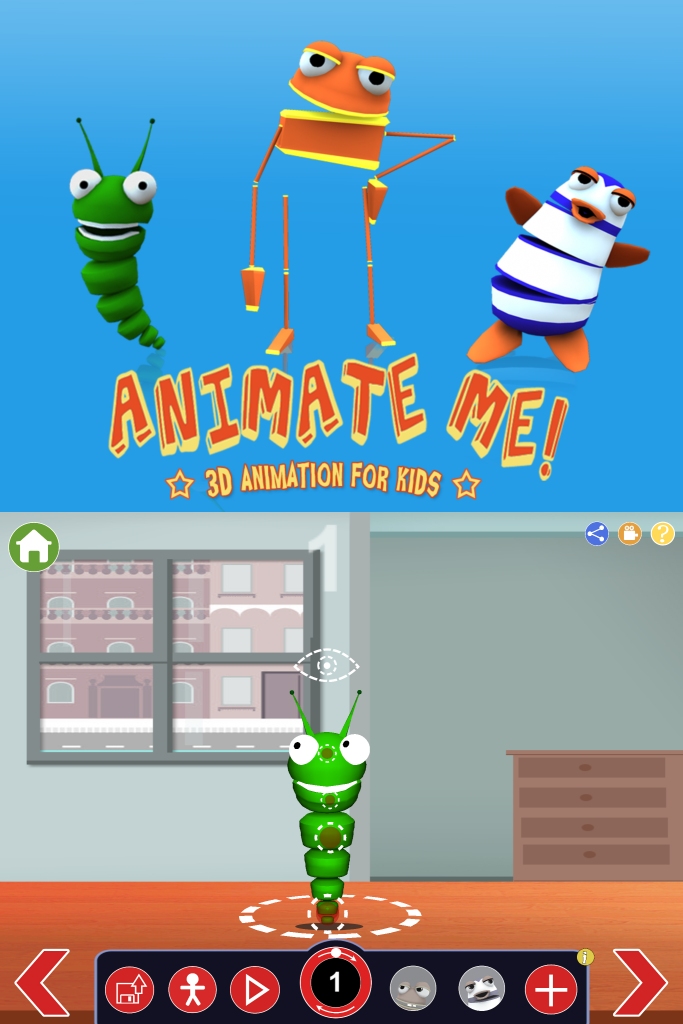
For this lesson, I let them play with the one character that comes in the free version – a fun worm like creature. They needed to create frame-by-frame animation, experimenting with the different movements and perceptions (the eyes can follow around). Unfortunately as of writing, there is no way for the app to export their projects as movie files, so we weren’t able to save them for later. The kids enjoyed the app though.
Stop Motion
Stop Motion is one of those classic techniques you look at when you study animation. When explaining it to the students, I explained that it was pretty much the same kind of animation they were used to making, but instead of drawing pictures, they needed to take photos.
I set up iPads on tripods all around the room, and room on couches and tables for them to play with some toys I sourced from the early years classrooms. Again, they were encouraged to make small movements as they took their photos. If you don’t know, Stop Motion is the process of taking many, many photos and having the computer (or in this case, the iPad) stitch it together to make a movie.
Now, you can use an ordinary camera to do these, or the standard iOS camera app, but I chose to use the Stop Motion app available on iTunes. I did this mainly because it has the onion skin effect that shows the students where the last photo was taken.
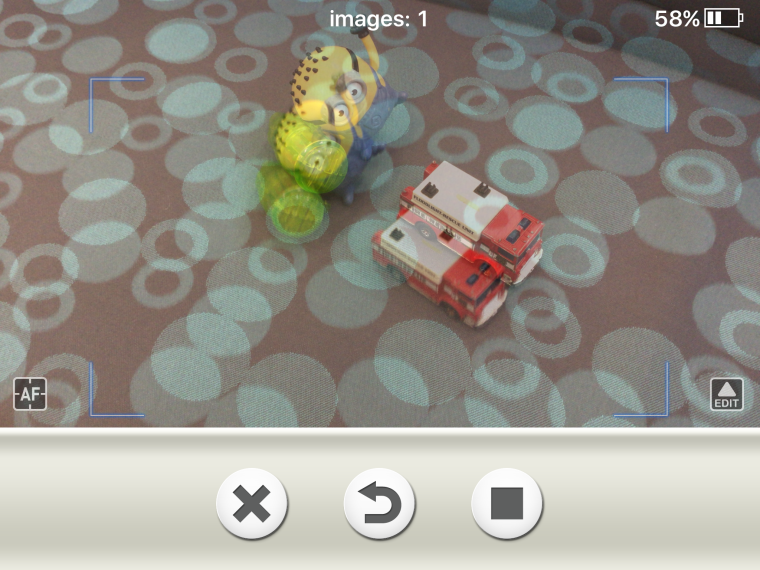
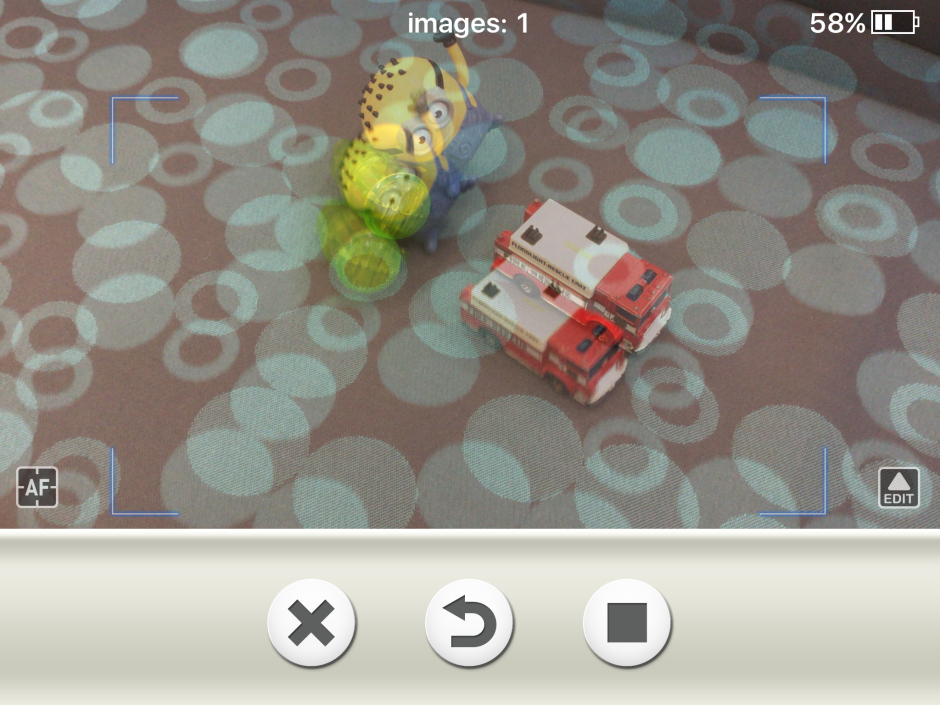
This week was about playing around with the app and understanding how the stop motion worked. We saw straight away that because of the excitement and the rushing to get as many pictures as possible, there were a lot of mistakes made. To make a good stop motion movie, you really need to make sure that the background is consistent and steady. That wasn’t really a problem, but there were a lot of instances when hands or parts of the body were accidentally included in the shot. This really does spoil the effect.
We shared a few of them at the end of class, and we discussed some strategies to try and avoid getting things in the way of the shot. Mainly this boiled down to the students realising to slow it down when making their movies.
Next week we will do this again, but I will show them how to delete a photo if something gets in the way, as well as to check their project to remove any photos with issues.
The Scratch “Pressure Test”
The cooking reality show Masterchef is absolutely huge in Australia. For those not familiar with the competition, one of the regular tasks the contestants have to do is a Pressure Test. This is where a guest chef comes in to the kitchen to show off an extremely complex dish that the contestants all freak out over. They are given a recipe (usually many, many pages) and time (which is always just short of anything realistic) to make the dish as close to what the chef brought in as possible.
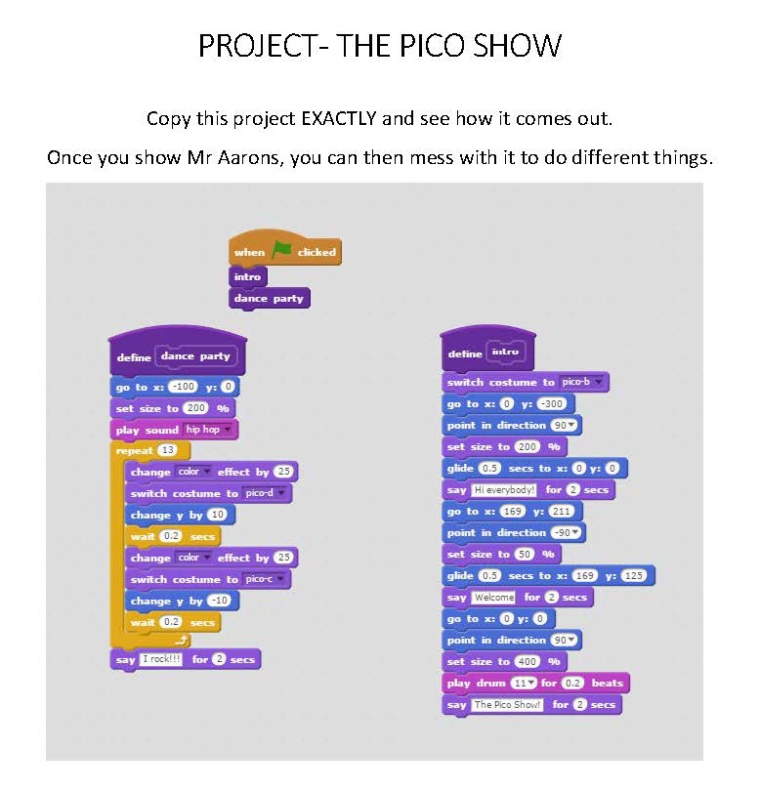
This week, the Gr3-4s did a Scratch “Pressure Test”. I had a project built based on something I already found on the Scratch site (hey, no need to reinvent the wheel, right?) and I printed out copies of what the script looked like. The students, in their pairs, had 20 minutes to recreate the project, using the script “recipe” as a guide. If something didn’t work, I wouldn’t tell them what they did wrong. They had to go through their work and “debug” it themselves.
I said to the students the reason we were doing this was the same reason they do it on the show. It pushes them to explore parts and blocks in Scratch they might not normally use.
Needless to say, they LOVED doing this. Most groups finished in the given 20 minutes, but not all of them. I gave help after the 20 minutes to groups who couldn’t work out where they went wrong. Usually it was something quite small which was hard for them to pick up.
Here below is the recipe they were given.. I can’t take credit for the project, but the idea of the pressure test in class – that was all me!
Shot Composition
Here is another lesson that must mostly be credited to another. This time, from Deila Bumgardner – an online educator that, amongst many other things, teaches using Adobe products. Delia provided a chart that explains how directors and cinematographers set up a shot, and the various shots and angles they might employ.
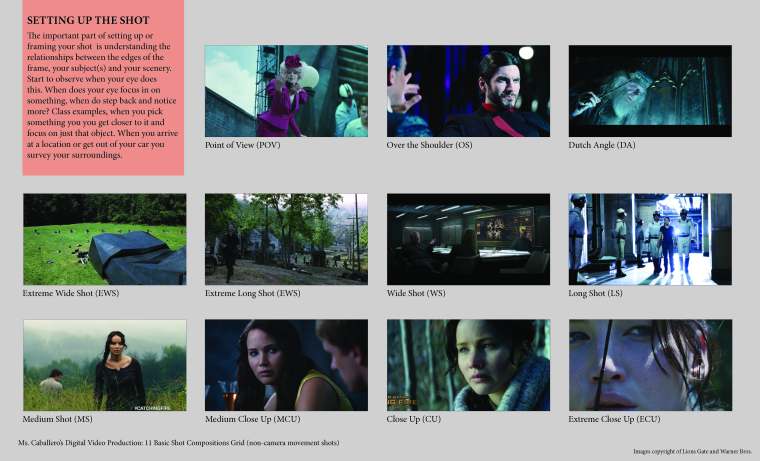
From this, I created a PowerPoint to show the grade 5-6 students, using the examples Delia provided, to briefly discuss each type of shot and what the purpose is behind them. I will admit, I did not go to film school, so I’m going off what I read, but I think I knew enough to get them started on the ideas.
Next, I provided them with an iPad and a tripod (we haven’t yet got the budget for camcorders, but they’ll be coming hopefully soon) and a clipboard which has this chart on it. The students were then tasked to go outside with their group and film a four second example of each shot. Next week, they will begin editing the shots together to create an instructional video on shot composition. This will go over a few weeks, where I will teach them some more Premiere skills as their project goes on. So, examples to follow in the next few weeks.


